
STEP BY STEP – STRETCHING WATERCOLOUR PAPER
If you have ever painted on a sheet of well-stretched watercolour paper, you will know why it is worth the time and effort to do this relatively simple task before starting your next painting.
Many artists are put off by the thought of stretching their paper, thinking it is difficult. But it is like anything – practice makes perfect. The first question many ask is: Why stretch paper in the first place? By pre-stretching watercolour paper you will prevent the paper from cockling when you wet it in the painting process. The second question many ask is: Does all paper need to be stretched? The easy answer is no. The better answer is – it depends on the weight of the paper. The general rule of thumb is that thinner paper needs to be stretched to prevent it from buckling when it gets wet as you paint on it. There is no hard and fast rule. If you are doing a small painting, about postcard size, you could probably get away without stretching, even on a fairly light weight paper. But if you love your washes and dowse your paper with successive layers of colour you probably need to keep reading.

You will need a piece of smooth plywood 8mm or thicker, and quite a bit bigger than the sheet of paper you are going to stretch; Four strips of gummed tape cut to size. Don’t use tape narrower than 25mm as it will not give enough grip; A bath or tray larger than your paper, filled with clean cold water; A clean, dry cotton towel.
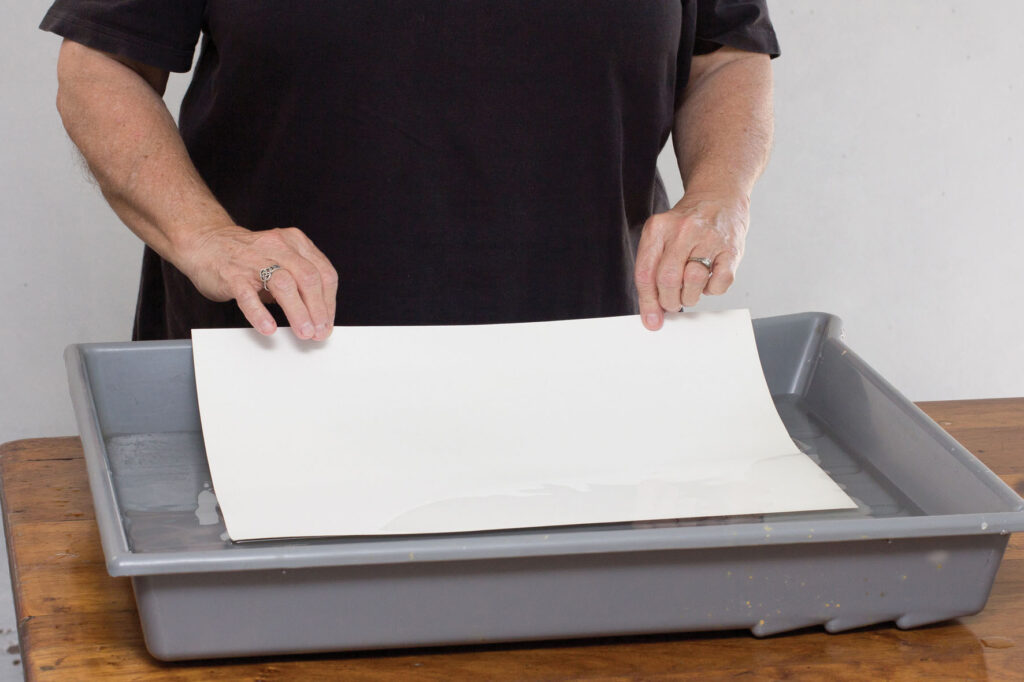
Fill a tray, which is larger than your sheet of paper, with cold water. Slide your paper into the water so that it is completely submerged. Don’t lie it on the water and try to push it under as this will cause it to crease. Leave it in the water for a few minutes until it is completely wet. Also, check the watermark of the paper so you know which is the correct side for painting. Place the paper into the water with the right side facing up.
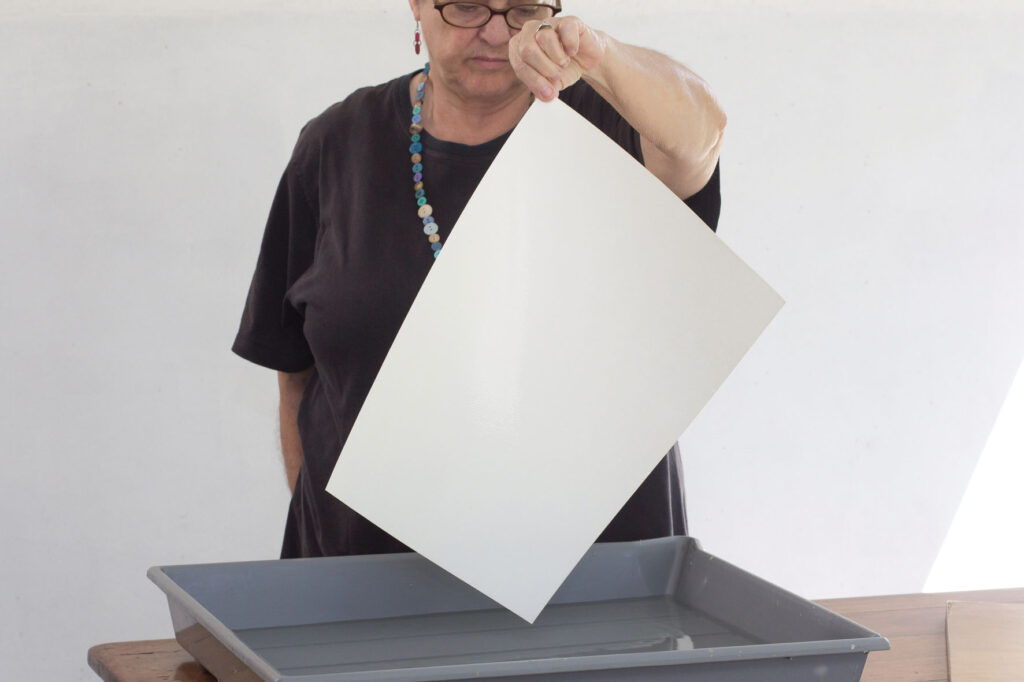
Carefully lift it out of the water by holding one side. Hold the paper by one corner to allow the excess water to run off.
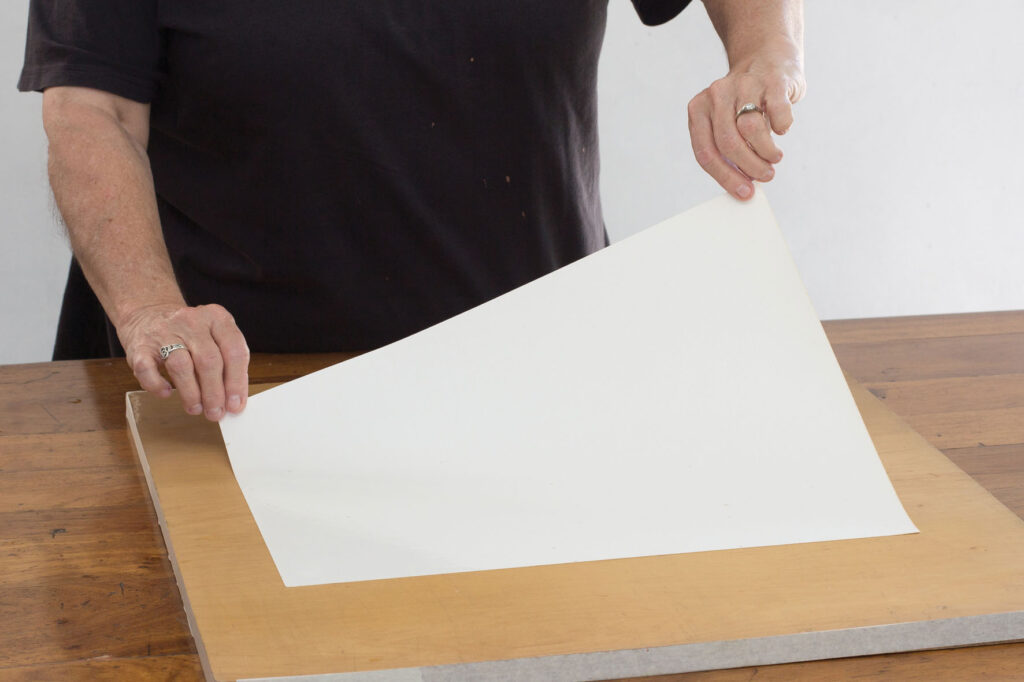
Lay the paper onto the centre of your plywood board and cover with the towel.
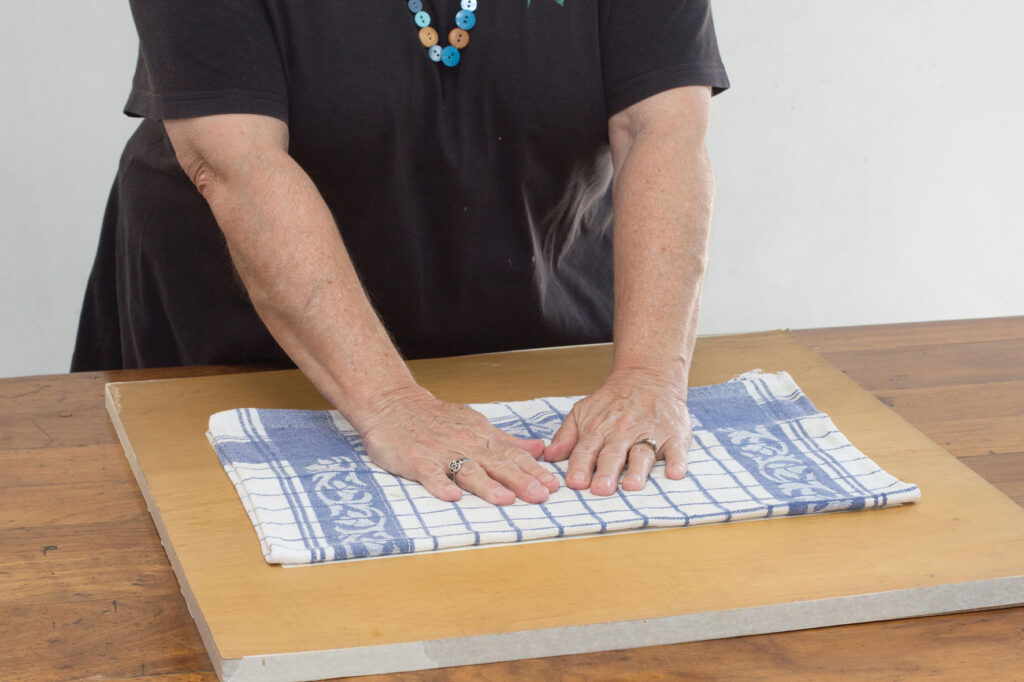
Gently press the towel down to soak up water on the surface of the paper.
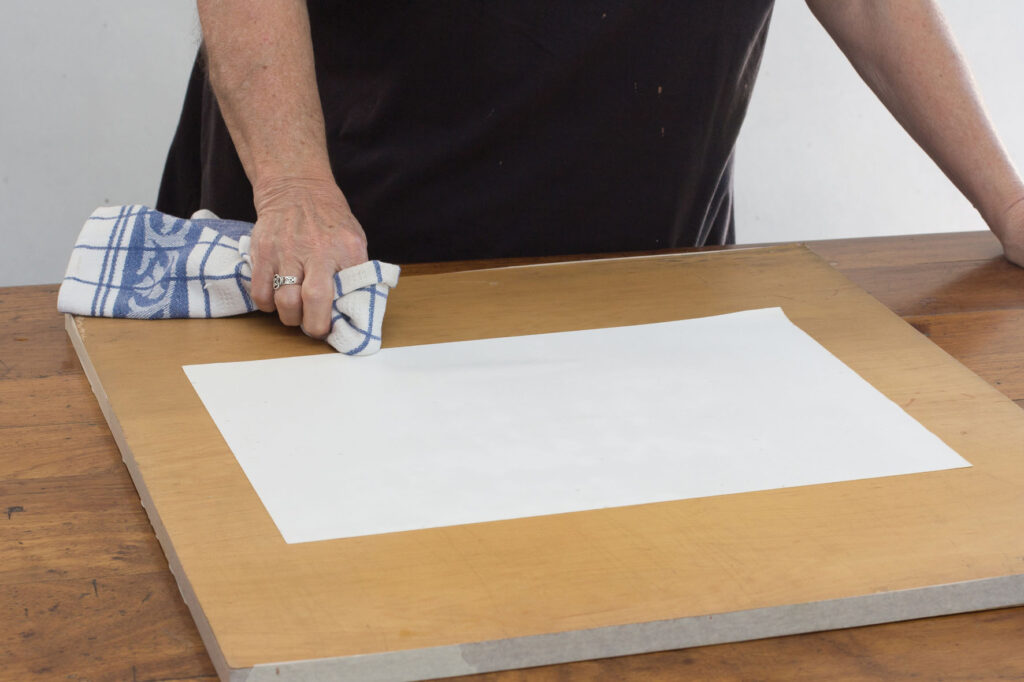
Next, dab the edges of the sheet of paper with the towel. They need to be a little drier than the rest of the sheet, for the gummed tape to stick properly. Don’t rub the paper.
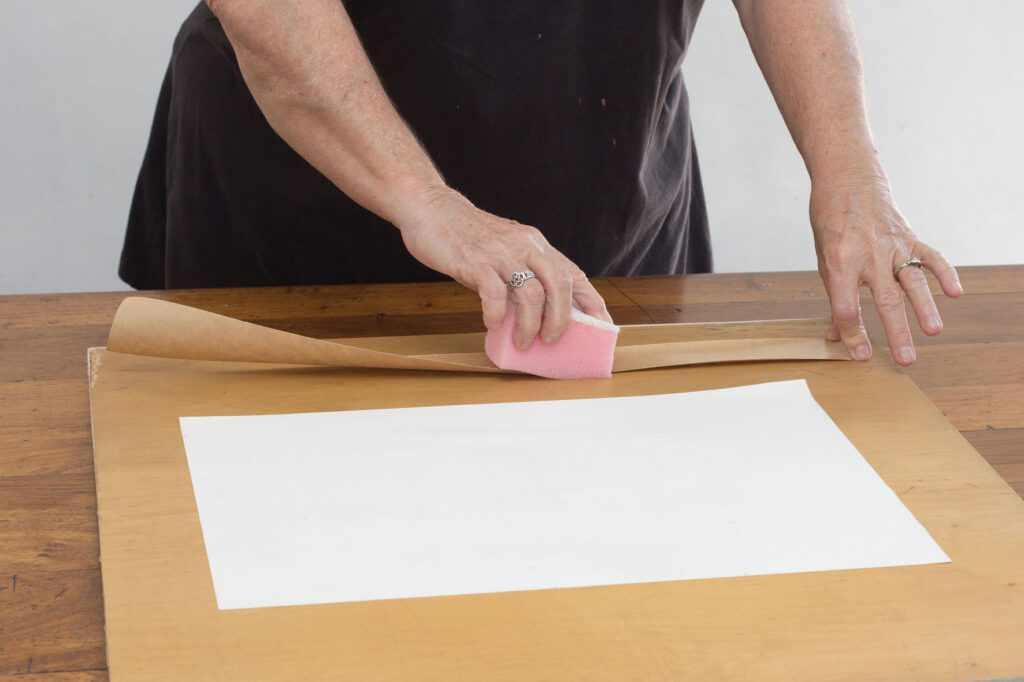
Cut four strips of gummed tape which are a little longer than the edges of the paper. Beginning with the long sides of the sheet, wet a piece of gummed tape with a damp sponge and lay it over the edge of the watercolour paper making sure that half of the width of the tape is over the paper.

Too little overlap, and the paper might pull away from the tape as it dries.
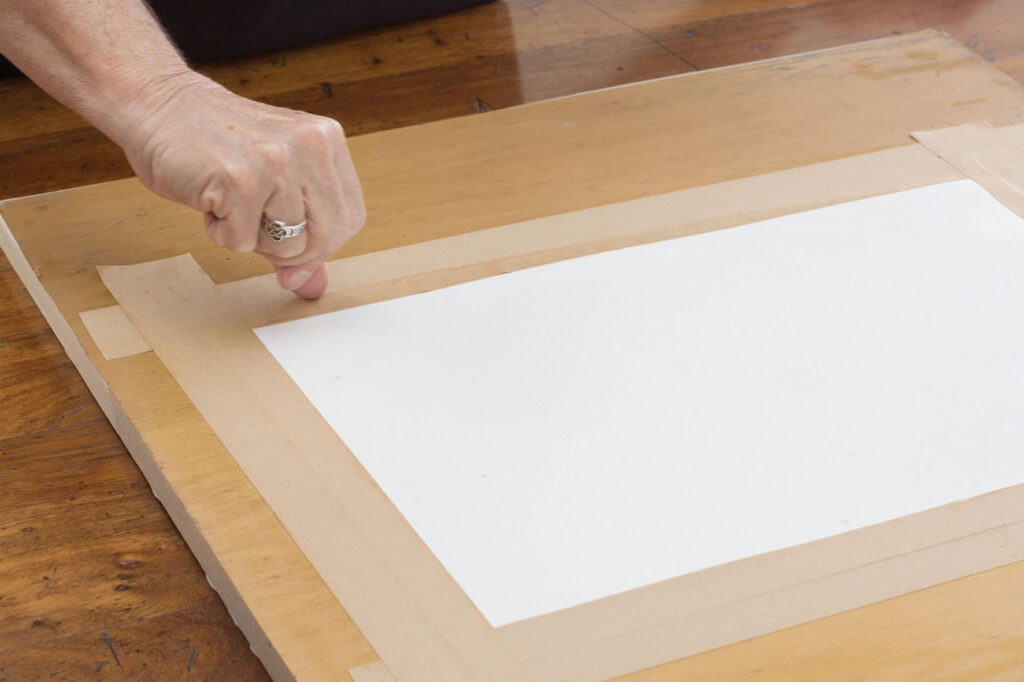
Do this for all four sides of the paper and then, working all around the paper, make sure the tape is firmly stuck to the board and watercolour paper. Spend some time getting this right – a mistake here will cause problems later. Gently burnish the tape to ensure a good bond.
Leave the board flat for the paper to dry. Don’t be tempted to speed things up with a hair-dryer, a fan, or placing the board in the sun. All of these will cause the paper to dry unevenly and it will probably pull away from the tape.
Once your paper is dry, you can commence painting. When you are happy and feel your painting is complete, wait for it to dry completely before using a craft knife to cut through the gummed tape to release the paper.
You can remove the residual gummed tape off your board by soaking it with a sponge and peeling it off while wet. If you are going to remove left over gummed tape from your page, be very careful that you don’t tear your painting.